Are you interested in the photography field this is, a business for you the photography studio which is related to your passion this business help to improve your skill, and passion, and this is the best business for you to become financially independent?

How to start your photography business?
Are you thinking to start your own business in your comfort zone and start with your skill, that's a photography business? So, I tell you how to start your photography studio, step by step.
Create a list of which types of services are provided by you.
Firstly, create your service list of what type of photo shoot is provided by your studio, that's very easy to explain your service easily.
If you already have a passion for a specific photography niche, go for it! Knowing what type of photography, you want to do can help you get specific about your target audience, so you’ll know who to market to and how. However, if you’re not quite sure whether you want to pursue product photography or portrait photography, or you’re looking for the most financially viable niche, you can do some market research into the types of photography that are most sought after in your area.
Those services given by your studio must list with the price so there is no confusion with customers.
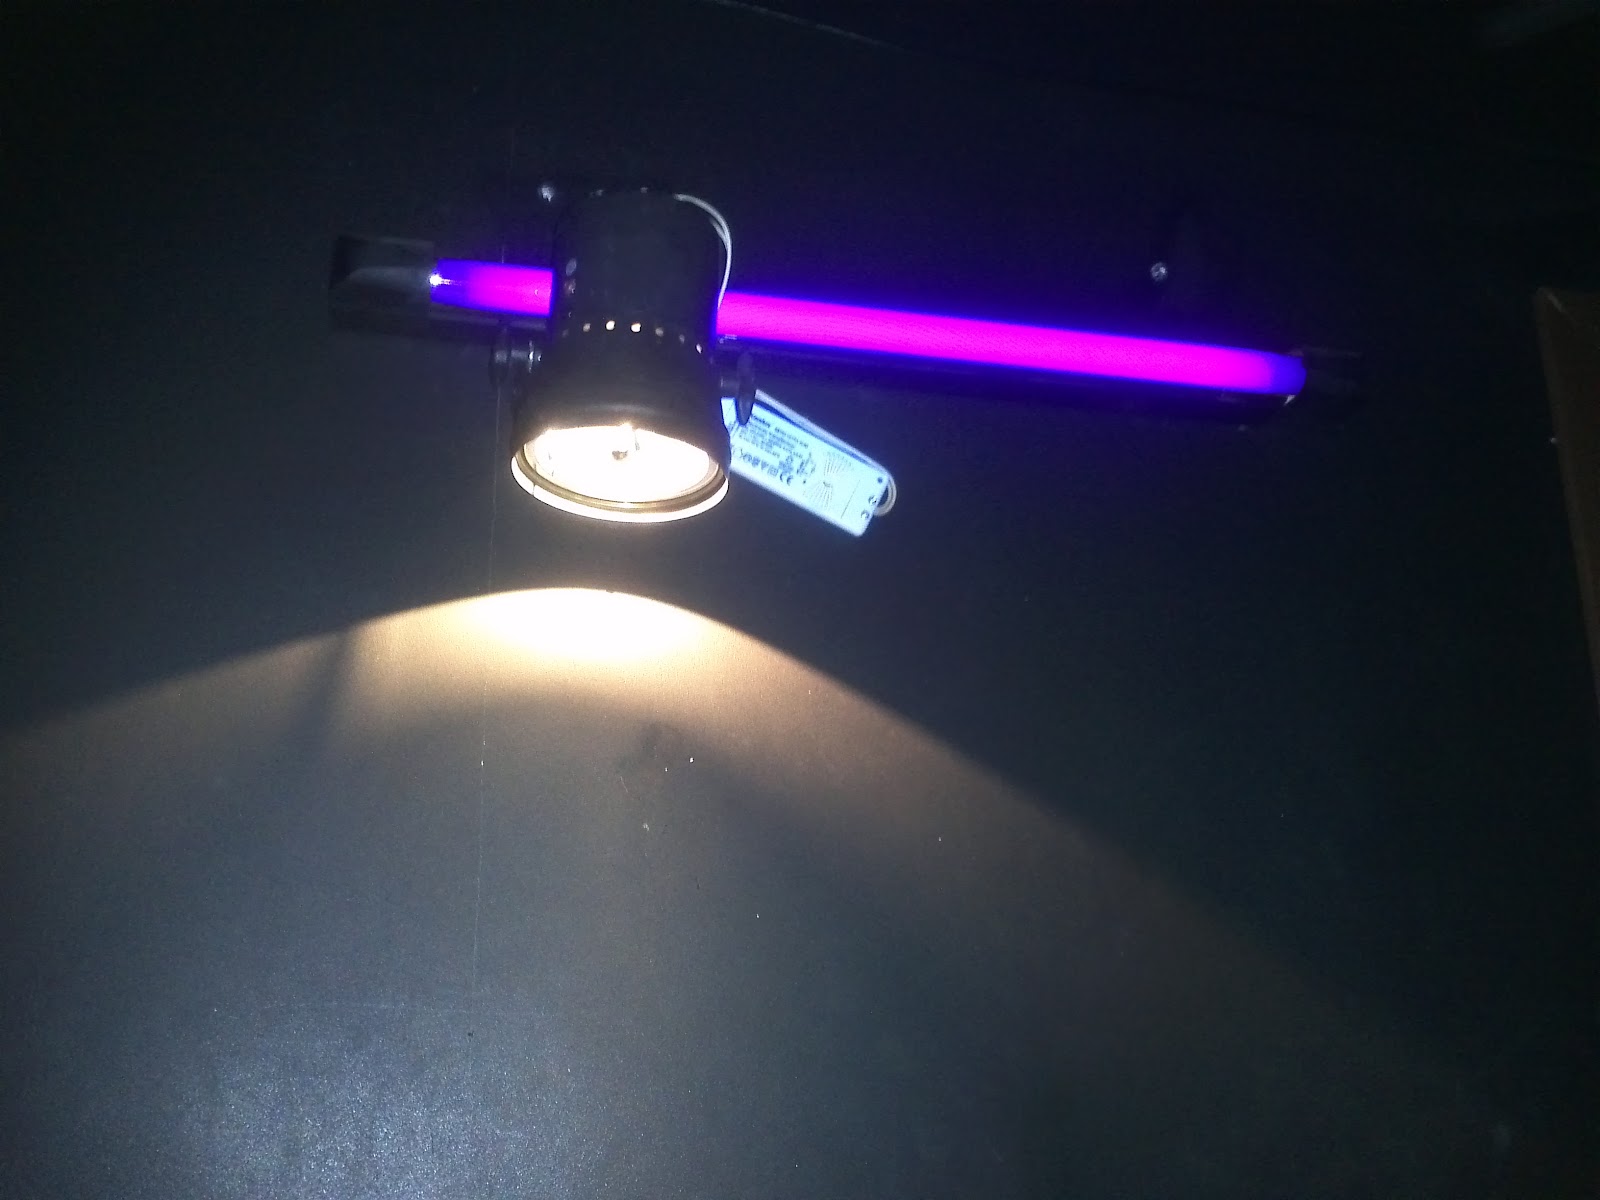
Choose the best gadgets required for your photography studio.
Before you start your photo studio arrange the gadgets related to the studio for the click best quality picture for your customer. There are some gadgets related to photography studio;
Camera- The most important part of a photography studio is a camera, the best quality camera is required for starting your studio, it all depends on your camera quality because the customer always looks for an excellent photo so this all depends on your camera.

LED Lamps- These lights provide a continuous light source, meaning that the composition is evenly lit. They can be customized with filters in a variety of colors and are useful for close-up photography.
Speedlights- This light is also most important for photography spotlights can be used to create intense shadows on your subject. They are generally relatively small, lightweight, and inexpensive compared to some other types of lighting, making them a good option if you’re just getting started. However, on the downside, they may not be powerful enough depending on your intention.

Studio flash- This was the most powerful light in the studio for flash photography. It is the most expensive light and much heavier than Speedlight, and it requires a sturdy light stand. This type of light is very powerful so remember that if you used that it becomes very hot so cool it properly after use.

Beauty dish- A beauty dish designed for beauty photography in the hair and makeup industry, the softness it provides is somewhere between that of an umbrella and a soft box, and it can be used to create a strong catch light in your subject’s eyes. However, since a beauty dish picks up on every little detail, it will bring attention to any skin imperfections, so be conscious of when you pull out this type of lighting. This is very useful for photography studios.

Reflector- In a studio setting, reflectors are often used as fill lights, bouncing back the spill from a key light to lower the lighting ratio on a subject. If you are looking to get into portrait photography, a reflector is an excellent first purchase that won’t break the bank.

Umbrellas- Mount the Umbrella to the Strobe or Flash. Most studio strobes will have a small hole to insert the umbrella’s handle, and a knob to tighten it in ... 2 2. Place the Umbrella to Cover the Light Source. 3 3. Experiment With Different Angles for More Variety. 4 4. Use Multi-Light Setups.

Softbox and octa boxes- At First Glance, the difference is visible right away. A softbox has a square or rectangular shape, while an octa box is octagonal. The two devices do work in about the same way.

Scrim-

A scrim is a portable option for a flat reflective screen that disperses light.
Gels- Add Color to the Key Light Adding a gel to your key light produces a deep and rich color on your model. It grabs attention and easily sets the mood of your image.

Flags-

Flags are great tools for shaping light in the studio or out in the field and can be used to shape light exactly how you want it for a more cinematic look to your photo.
3. Choose the best location for your photography studio.
Looking to open a photography studio the main point is the location, where you set up your studio, choose the best location because those people come first time in your studio, your location is great, so people remember lifetime your studio location. Since your clients will be traveling to your studio for their photoshoots, you’ll need to ensure that the location is easy to get to. Rental prices get higher the closer you are to your city or town center. Also remember to factor in the cost of renovations, insurance, hydro, electricity, Wi-Fi, and any other ongoing expenses that you’re going to have.
Conclusion.
So, in the upper of the article, I give you a full description, of how to open your photography studio, to create a good income in your hand.
Content writer- Aryan Kumar
Contact- 9931668213.
Comments
Post a Comment
Give me your golden feedback